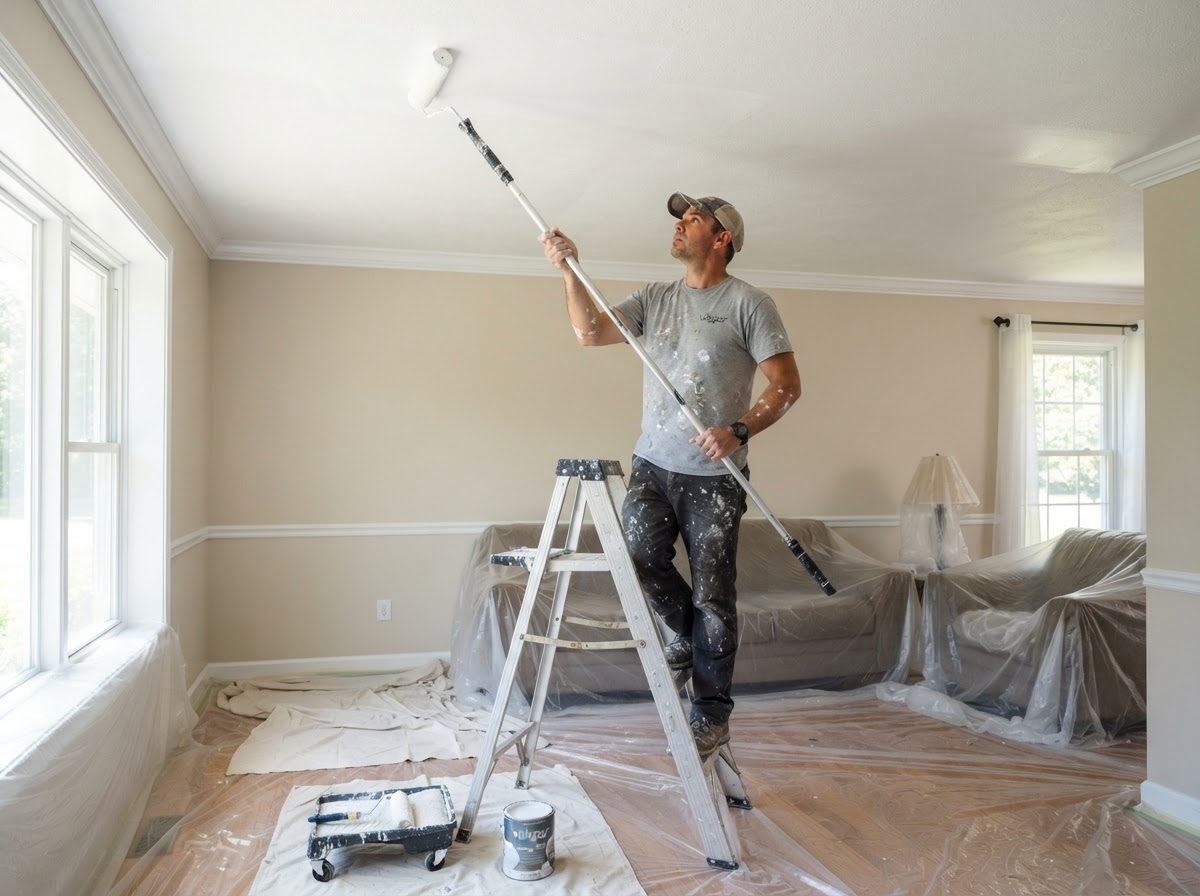
Ceiling Painting in West Palm Beach
Ceiling Painting
Ceilings are easy to overlook, but a clean, even ceiling brightens a whole room and hides years of stains, shadows, and discoloration. For homes and businesses in West Palm Beach and the Palm Beach area, ceiling painting is a simple update that lifts the feel of any space.
Painting a ceiling takes specific care because it is overhead work. Floors and furnishings need full protection, the right finish must be chosen, and the application must stay consistent to avoid visible patches. Below is what a typical ceiling painting project involves.
Preparing a Ceiling for Paint
Ceilings collect dust, cooking residue, and water stains over time. Before painting, the surface is cleaned and any stains are treated or primed so they do not bleed through the new coat. Small cracks and nail pops are patched and sanded smooth.
If the ceiling has a popcorn or textured finish, its condition is assessed to decide whether to paint over it, repair it, or remove it, since texture can loosen when wet.
Protecting Floors and Furnishings
Because paint drips downward, ceiling painting requires thorough protection. Floors are covered with drop cloths, and furniture is either moved out or fully wrapped. Light fixtures are removed or masked, and walls are masked at the top edge.
This protection is what keeps a ceiling project from creating a mess below, and it makes final cleanup simple.
Choosing a Ceiling Finish
Flat finish is the standard choice for ceilings because it hides imperfections and reduces glare from lights. A flat white ceiling also reflects light evenly, making a room feel brighter and larger.
In bathrooms, kitchens, or areas with humidity, a washable satin finish may be used instead so moisture and stains can be cleaned without dulling the surface.
Achieving a Consistent Appearance
Consistency is the main challenge with ceilings. Rolling in a single direction, working in sections while the edge stays wet, and using enough paint to cover in one or two coats prevents lap marks and uneven sheen.
Good lighting during the work helps spot thin areas before they dry, so the finished ceiling looks uniform from every angle.
Explore Related Services
The Ceiling Painting Process
A typical ceiling painting project follows a clear, repeatable sequence that keeps the work organized.
- 1
Inspect the ceiling
Check for stains, cracks, loose texture, and moisture sources that need attention first.
- 2
Protect the room
Cover floors, wrap or remove furniture, and mask fixtures and wall edges.
- 3
Prepare the surface
Clean, patch cracks, and prime stains or repaired areas as needed.
- 4
Paint the ceiling
Cut in the edges, then roll in consistent sections while edges stay wet.
- 5
Inspect and restore
Check for even coverage, touch up, remove masking, and return fixtures.
Common Questions About Ceiling Painting
What finish is best for ceilings?
Flat white is most common because it hides imperfections and reflects light evenly. Humid rooms like bathrooms may use a washable satin finish instead.
Can a stained ceiling be painted over?
Stains are cleaned and spot primed first so they do not bleed through the new paint, then the ceiling is painted for a uniform look.
Do you have to remove furniture to paint a ceiling?
Furniture can stay if it is fully covered and protected, though moving lighter pieces out gives more room to work safely.
Next Steps for Your Project
Browse the full range of painting services, then visit the contact page to learn how to move your ceiling painting project forward in West Palm Beach.
- Review the scope and surfaces for your project
- Choose finishes suited to the space and use
- Plan timing around weather for exterior work
- Prepare the space so painting stays contained